Curtain installation is not simply a matter of putting a rod above the glass and sliding fabric across it. The height, width, hardware, and textile construction all affect how much light enters, how warmly a room feels, and whether the finished window looks deliberate. I have seen a $25 polyester panel appear polished because it was mounted correctly, while expensive linen looked unfinished because the rod was too short and the hem floated six inches above the floor.
When I approach a window, I begin with my hand on the wall and my eyes on the light. Is the trim cold to the touch in January? Does afternoon sun fade the furniture? Is there a steam radiator below the sill? Those details determine the right installation more reliably than a trend photo. A beautiful treatment that traps radiator heat or leaves a draft at the glass is not a successful treatment.
Measure the Window Before Buying Anything
Good curtain installation starts with a steel tape measure, not a shopping cart. Measure the window opening from the outside edges of the trim, then measure the wall space above and beside it. Record the width in at least two places because older homes often have slightly uneven openings. For height, measure from the proposed rod position to the floor, sill, or desired lower edge.
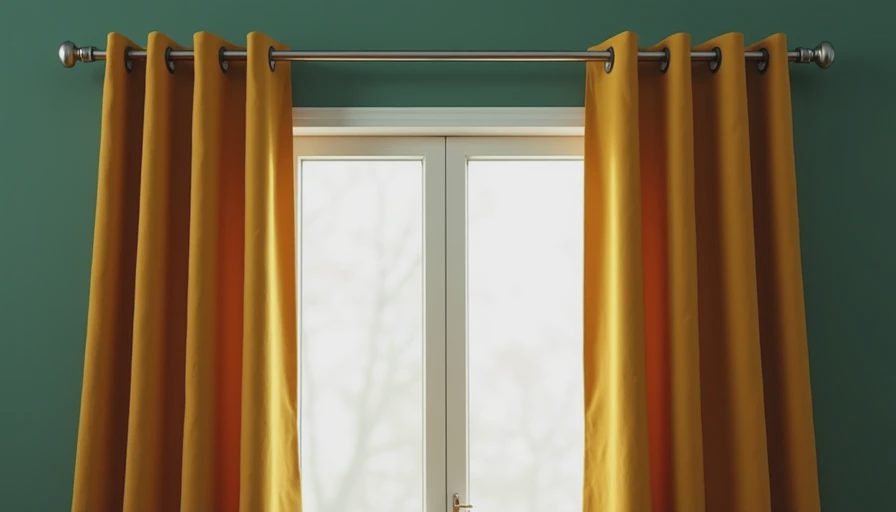
Most rods look better when mounted four to six inches above the window frame, but a low ceiling or crown molding can change that rule. If the space allows, mounting closer to the ceiling makes the window feel taller. Extend the rod at least six to twelve inches beyond each side of the frame so open panels do not cover the glass. That extra return is especially valuable in a cold climate: closed curtains cover the window, while open curtains can stack beside it without stealing daylight.
Fabric fullness matters as much as the window measurement. A flat panel with a 1.5 fullness ratio looks relatively spare. A woven cotton or lined drapery with about twice the finished width creates fuller folds. For a 60-inch window, two 60-inch-wide panels provide approximately two times fullness before side returns and hems are considered. Check the fabric's actual width and finished dimensions; a product labeled 84 inches wide may lose usable width after seams and side hems.
Choose Hardware That Matches the Fabric Weight
Hold a lightweight voile in one hand and a lined wool blend in the other. The voile barely pulls against the rod, while the wool has enough mass to make a thin spring-tension rod sag. This is why hardware selection belongs in curtain installation planning, not as an afterthought.
Small tension rods work for café curtains and very light panels inside a recess. For full-length curtains, use a fixed rod with brackets anchored into a stud or a properly installed wall anchor. A 1-inch metal rod is usually more stable than a narrow decorative rod, particularly across a wide window. Heavy blackout panels, interlined drapes, and velvet need a center support or a traverse system designed to carry their weight.
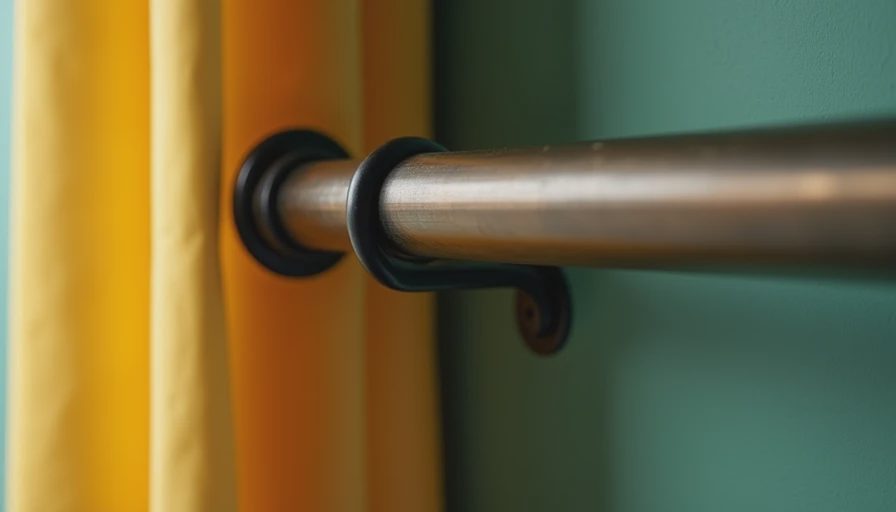
The return, meaning the distance from the rod to the wall, also affects performance. A return of three to five inches helps the curtain wrap toward the wall and blocks more side light. For a drafty double-hung window, that overlap can reduce the cold sensation near the edges. Avoid placing brackets directly over a radiator where fabric could restrict rising heat. In that situation, a sill-length treatment, a shorter return, or a ceiling-mounted track can be more practical.
Decide Between Ready-Made and Custom Panels
Ready-made curtains are often the sensible choice when the window is a standard size and the budget is roughly $50 to $250 per window. Look for a substantial hem, consistent panel dimensions, and a lining that hangs smoothly rather than puckering at the seams. Polyester is not automatically cheap-looking; a dense, well-finished polyester can resist fading and wash more predictably than loosely woven linen.
Custom work becomes valuable when the window is unusually wide, the ceiling is tall, or the fabric has a clear repeat. A professional can match patterns across seams, specify lining, and create the exact break at the floor. Labor commonly adds a meaningful amount to the project, but the cost is easier to justify in a living room with several connected windows than in a small bedroom with one uncomplicated opening.
For cold rooms, compare the hand of the lining. A plain lining adds body and protects the face fabric. A thermal lining usually has a denser coating or additional layer that limits light and slows heat transfer. It will not replace weatherstripping or improve a poorly sealed window, but it can make the interior surface feel less exposed on a winter night. Blackout lining is useful for bedrooms, though it can make a naturally bright room feel visually heavier.
Install for Light Control and Thermal Comfort
The practical sequence for curtain installation is straightforward. Mark the bracket positions with a level, drill pilot holes, install anchors where no stud is available, and test the rod before adding panels. Slide the fabric on carefully so the leading edges face the room evenly. Then close the curtains during the brightest part of the day and inspect for gaps at the center, sides, and bottom.
A center gap can be reduced with an overlap carrier, a center return, or a second layer such as a sheer plus an opaque panel. Side gaps are often fixed by extending the rod or using returns. Bottom gaps require a better hem rather than lowering the rod. Ideally, floor-length panels either touch the floor or create a small, intentional break. A one-inch gap can look accidental and allows more cold air movement than a close finish.
Do not let fabric rest against a hot radiator, heater, or exposed electrical fixture. Keep several inches of clearance where heat needs to circulate, and use a certified professional for complicated electrical or masonry work. In my Minneapolis bungalow, the most effective arrangement has been a rod high enough for visual height, panels wide enough to cover the side returns, and a hem that stops just above the radiator cover.
Understand the Fabric Before You Spend More
Touch the face of a cotton-linen blend beside a tightly woven polyester jacquard. The blend feels dry and irregular because plant fibers create variation in the yarn. The jacquard feels smoother and often carries a sharper pattern because the design is woven into the cloth. Neither is universally better. Linen can relax and crease attractively, but it may transmit more winter light. A dense polyester can drape consistently and hold color, but its surface may feel less organic.
Curtain installation reveals these differences because construction controls the fold. A lightweight fabric needs more fullness to look generous. A stiff fabric may need less fullness but a stronger rod. A fabric with a soft brushed surface can show marks from handling, while a smooth satin-like face can reveal every uneven fold. Ask about light-fastness, wash care, and shrinkage before buying yardage. Spending another $40 on reliable lining is often more worthwhile than spending $40 on a decorative trim that does nothing for performance.
A Practical Final Check
Before calling the project finished, open and close each panel several times. Listen for scraping at the brackets, inspect whether the seams hang vertically, and confirm that the hem clears furniture and floor vents. Stand across the room at daytime and nighttime. The treatment should frame the glass when open, cover the opening completely when closed, and avoid making the wall feel crowded.
The best curtain installation balances three things: the architecture of the room, the behavior of the fabric, and the demands of the climate. Measure slowly, buy hardware for the actual weight, and treat lining as functional equipment rather than decoration. If the window is unusually tall, wide, or drafty, a consultation can prevent costly fabric and drilling mistakes. A well-planned installation gives you softer light, better privacy, and a textile that earns its place on the wall every day.



No letters yet — be the first to write.