The metal bracket feels cold in your hand, the drill wants to wander, and the window trim is rarely as level as it looks. Learning how to install a curtain rod is not difficult, but a few inches of careless measuring can leave curtains dragging, gaps leaking winter air, or hardware pulling out of drywall. I have corrected all three problems in old Minneapolis houses, including my own 1920s Craftsman. The reliable method is simple: plan the fabric first, locate strong mounting points, and let the rod extend beyond the glass.
Choose the Rod and Curtain Before Drilling
Start with the curtain, not the hardware. Hold the fabric by its header, or upper finished edge, and notice how it hangs. A light cotton panel folds easily and usually works with a basic 5/8-inch rod. A lined linen blend has more body, while velvet or thick insulated fabric can weigh several pounds per panel. That weight needs a sturdier rod, larger brackets, and anchors rated for the actual load.
For most living-room windows, choose a rod that extends 8 to 12 inches beyond each side of the frame. This gives the opened curtains somewhere to stack without covering the glass. In a narrow bedroom, 4 to 6 inches may be enough. A telescoping steel rod from brands such as Umbra or IKEA can work for lighter panels, but inexpensive hollow rods often bow when loaded with lined drapes. Look for a center support when the span exceeds about 60 inches.
Fabric width matters too. For a relaxed appearance, use total curtain width about 1.5 to 2 times the window width. A 60-inch window therefore looks fuller with 90 to 120 inches of fabric. That fullness is not merely decorative. Closed folds create a deeper air layer between the room and cold glass, while a flat, undersized panel leaves gaps at the edges.
Measure in the Right Order
The first practical stage in how to install a curtain rod is marking the window, not making holes. Measure the window width, then measure from the top of the frame to the floor, sill, or desired hem point. Most rods sit 4 to 6 inches above the frame. Raising the rod closer to the ceiling can make a room feel taller, but the curtains must still be long enough to reach their intended finish.
Use a metal tape measure and record three width measurements: top, middle, and bottom. Older wood windows frequently taper slightly. Use the largest measurement when ordering curtains, but base rod placement on the trim and available wall space. Mark the left and right bracket points with pencil, then use a level across those marks. Trust the level rather than the ceiling or trim; houses settle, and visual lines can deceive you.
For a floor-length panel, decide whether the hem will kiss the floor, hover about half an inch above it, or break slightly on the floor. A kiss gives the cleanest look and collects less dust. A one-inch break can soften heavy velvet, but it is less forgiving around pets and radiators. If a steam radiator sits under the window, keep fabric clear of it and avoid blocking its rising heat with a deep puddle of cloth.

How to Install a Curtain Rod on Drywall or Wood
To understand how to install a curtain rod securely, identify what is behind each bracket. A stud or solid wood trim provides the best hold. Tap lightly or use a stud finder, then test whether your pencil mark aligns with a vertical framing member. If it does, drill a pilot hole smaller than the screw shaft and fasten the bracket directly into wood.
When no stud is available, use a wall anchor designed for the load. Plastic expansion anchors are acceptable for lightweight sheers, but heavier lined curtains deserve toggle bolts or another rated hollow-wall anchor. The anchor package should state a working weight, not just a dramatic maximum. Treat that number conservatively because curtains are pulled sideways every day.
Drill straight into the wall, insert the anchor flush, and attach the bracket without overtightening. An electric screwdriver can strip a screw or crush soft drywall, so finish the last turns by hand. Set the rod on the brackets and check it from several angles. If the rod slopes, correct the bracket marks rather than forcing the rod into position. A level installation makes even moderately priced fabric look intentional.
Prevent Gaps, Drafts, and Fabric Damage
Curtains can improve comfort, but they are not a substitute for sealing a failed window. Run a fingertip around the sash and trim to find obvious drafts before hanging the treatment. Removable rope caulk or properly applied weatherstripping can stop air movement at the source. Then let the curtain cover the entire glass area, with the side returns extending beyond the frame.
This is where how to install a curtain rod affects performance. Mounting too close to the glass leaves the fabric rubbing against cold trim and reduces the insulating air pocket. Mounting several inches forward, using return brackets or a wraparound rod, helps the panel sit closer to the wall at the sides. For a north-facing bedroom in Minneapolis, I prefer a lined, tightly woven curtain that closes fully at night. A decorative open-weave panel looks beautiful but does little against a January draft.
Keep fabric away from candles, baseboard heaters, and radiators. Polyester is often more stable and colorfast than an inexpensive cotton print, but no fiber should touch a heat source. Direct sun can fade dark dyes and weaken some fibers over time. A lining protects the face fabric, improves drape, and reduces the sharp temperature contrast at the window.
Hang the Panels and Train the Folds
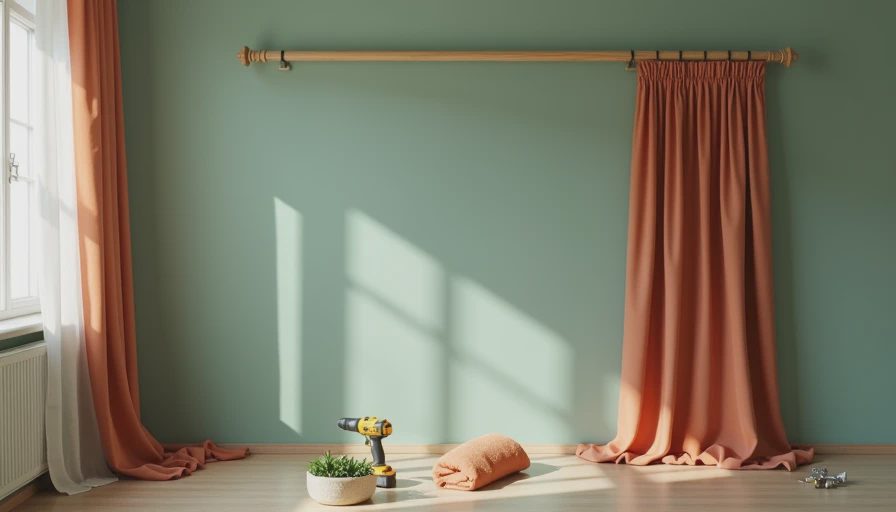
Once the rod is mounted, slide on the rings, grommets, or rod pocket and check that the panels move without catching. Rod pockets create a soft, gathered look but can be difficult to open on a wide window. Rings or pinch pleats move more smoothly and keep the folds organized. If the curtain has a back tab, inspect the stitching before loading it onto the rod; thin tabs can fail when a panel is heavy.
A useful finishing step is fold training. Close the curtains and arrange the fabric into even vertical folds, then loosely tie each panel in two or three places with soft fabric strips. Leave it overnight or for a day. This encourages the memory of the weave and produces cleaner folds than repeatedly tugging the leading edge. Remove the ties carefully and let the cloth settle naturally.
How to install a curtain rod also includes checking daily use. Open and close the curtains several times, watching for a bracket that flexes, a center support that catches, or a hem that sweeps across a radiator. Correct small problems now. Replacing one anchor is easier before the wall hole enlarges and the bracket begins to sag.
Common Mistakes Worth Avoiding
The most common mistake is choosing rod length from the glass alone. That leaves the opened curtain covering part of the window and makes a room darker. The second is using lightweight hardware for heavy fabric. A $15 rod may be perfectly adequate for sheers but frustrating with blackout curtains. Spending an extra $20 to $50 on a thicker rod and reliable brackets is usually more valuable than buying decorative finials.
Another mistake is measuring curtain length from the floor without considering the rod position. Measure from the top of the installed rod, not from the top of the window frame. Finally, do not assume every wall anchor is interchangeable. Read the weight rating, match the screw to the bracket hole, and use a stud whenever practical.
If you remember only one version of how to install a curtain rod, make it this sequence: choose the fabric, measure the full window, extend the rod beyond both sides, find wood or use rated anchors, level the brackets, and test the finished treatment. Good hardware disappears into the room. The reward is fabric that hangs cleanly, opens easily, and gives cold glass less control over your comfort.


No letters yet — be the first to write.