Installing curtain rods looks like a simple weekend task, but the placement of the brackets determines how your fabric hangs, how much daylight enters, and whether cold air continues to spill around the glass. I have seen expensive wool-blend drapes made to look flimsy because the rod was mounted too close to the window frame. I have also seen inexpensive cotton panels perform surprisingly well when the hardware was positioned properly. The goal is not merely to get a rod on the wall. It is to create a stable textile system that suits the window, fabric, and room.
Measure the window before buying hardware
Start with a steel tape measure, not a guess based on the existing rod. Measure the window casing from outside edge to outside edge, then measure the distance from the casing to the ceiling or crown molding. Write down the depth of the trim as well. Deep Craftsman-style casing can interfere with rings or grommets if the rod sits too close to the wall.
For most curtains, extend the rod 6 to 12 inches beyond each side of the window. That extra length lets the panels stack beside the glass instead of covering it when open. A 48-inch window commonly needs a rod at least 60 to 72 inches wide, depending on how much fabric you want gathered at the sides. If the room is small, extending only 4 to 6 inches can preserve wall space, but the fabric will cover more glass.
Measure the curtain panel width before deciding how many panels to use. A pair of 50-inch panels provides 100 inches of flat fabric. For a relaxed appearance, aim for roughly one-and-a-half to two times the window width in total fabric. Lined velvet or tightly woven upholstery-weight fabric needs a stronger rod than lightweight voile because the cloth has more mass and resistance when it moves.
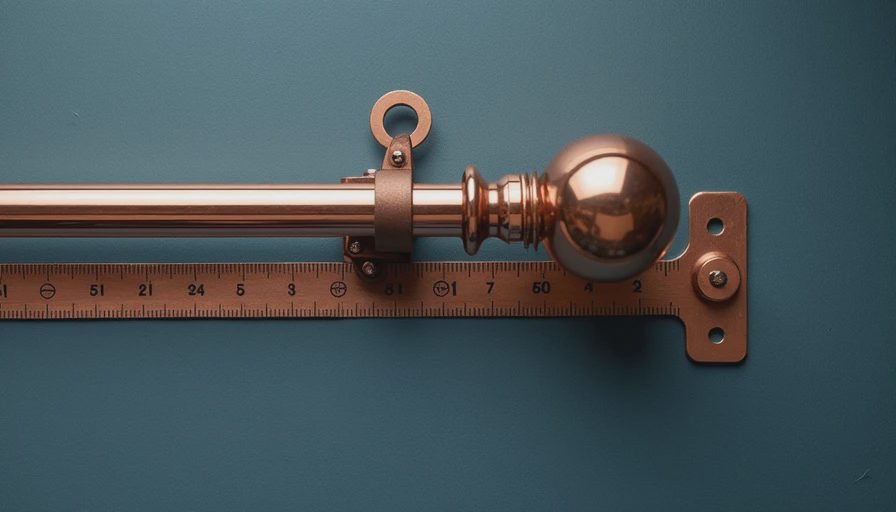
Choose a rod that matches the fabric weight
When installing curtain rods, hardware strength matters more than its decorative finish. A thin hollow rod can support sheer polyester, but it may bow under lined linen, cotton canvas, or wool. Hold a sample panel in one hand and a thin metal rod in the other. The difference in weight is exactly what the brackets and wall anchors must manage every day.
For lightweight curtains, a 5/8-inch or 3/4-inch rod is usually adequate when attached to solid wood or properly installed anchors. Medium-weight lined panels are better served by a 1-inch rod with a center support. Heavy blackout curtains, thermal interlining, or velvet often deserve a 1 1/4-inch rod and substantial brackets. Prices commonly range from $15 for basic steel hardware to $80 or more for thicker metal, wood, or custom-finish systems. Spend first on strength and mounting quality, then on finials.
Telescoping rods are convenient, but the overlapping section is the weakest point and can show through a loosely woven curtain. If the span is wide, select a fixed-length rod or place the overlap behind a center bracket. A traverse rod, which uses carriers to open and close curtains, is useful for broad windows or heavy drapery because it reduces repeated pulling on the fabric.
Mark a useful height, not just the old holes
Installing curtain rods higher than the window frame can make a room feel taller and gives the fabric a longer vertical line. A reliable starting point is 4 to 6 inches above the casing. If the ceiling is low, mount the rod about 2 inches below the ceiling or below crown molding, leaving enough room for the brackets and finials. Avoid placing it so high that the curtains cannot reach the floor neatly.
For floor-length panels, measure from the top of the rod to the floor after selecting the hanging method. Rings, clips, rod pockets, and grommets each change the finished drop by an inch or two. If you want a slight break at the floor, add about 1 inch. For a clean residential finish, stop the hem roughly 1/2 inch above the floor. In cold climates, that small gap also prevents the lower edge from collecting dust and moisture.
Use a level and mark both bracket locations with painter's tape. Then check the marks from across the room. A technically level rod can still look wrong if one bracket is placed over uneven trim or if the ceiling line slopes. Symmetry matters because the eye notices crooked textile lines immediately.
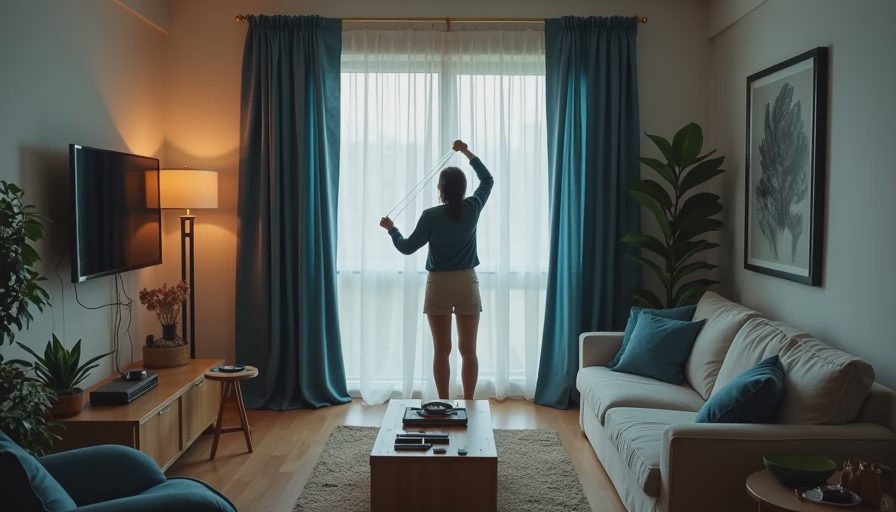
Install into structure whenever possible
When installing curtain rods, the safest attachment is a screw driven into a wall stud or solid wood trim. Use a stud finder, but confirm the location with a small drill bit or by checking nearby outlet placement. If no stud lines up with the bracket, use an anchor rated for more than the combined weight of the rod and fully gathered curtains. Standard plastic expansion anchors are not ideal for heavy drapery in drywall.
Toggle bolts or metal hollow-wall anchors provide better support for medium loads, provided the wall cavity is clear. Do not drill blindly near electrical outlets, switches, or plumbing. For masonry, select anchors designed for brick or concrete rather than forcing a general-purpose drywall plug into the surface.
Predrill holes slightly smaller than the screw shaft when working in wood. Hold the bracket steady, drive the screws without overtightening, and install the center support before hanging the fabric. A bracket that shifts under load will eventually enlarge the hole, especially when a thick panel is opened and closed several times a day.
Let the fabric determine the final appearance
After installing curtain rods, hang the panels and wait a day before judging the folds. Fibers relax differently. Linen arrives with a crisp, dry hand but softens as it hangs. Polyester remains more uniform and resists wrinkles, while cotton can develop a fuller, less predictable drape. The weave matters too: a dense plain weave blocks more light than an open basket weave, even when both fabrics have similar weight.
For winter performance, use lined curtains that extend beyond the sides and bottom of the window. The lining creates a still air layer and reduces radiant heat loss, although it does not replace weatherstripping or proper glazing. Keep fabric away from steam radiators, baseboard heaters, and other heat sources. A curtain resting directly on a radiator can trap heat against the window and create a safety concern.
If daylight is the priority, choose a tightly woven unlined fabric or a light-filtering lining rather than blackout material. If sleeping comfort or draft control matters more, blackout lining is worth the added cost. A $25 panel with good coverage can outperform a $100 panel that is too narrow and leaves gaps at both edges.
A practical final inspection
Once installing curtain rods is complete, open and close each panel slowly. Watch for scraping brackets, a sagging center, or fabric catching on a rough finial. Check that the hem clears the floor evenly and that the leading edges meet in the middle without a large gap. On a wide window, confirm that the center support does not block the carriers or rings.
Stand beside the window on a sunny afternoon and look for light leaking around the rod and side edges. Some leakage is unavoidable, but returning the rod farther beyond the casing often improves coverage more effectively than buying thicker fabric. At night, feel for cold air near the sill and sides. Curtains cannot seal a window, but a close-fitting, lined treatment can make the room feel noticeably less drafty.
For a typical bedroom, budget $30 to $120 for a dependable rod and anchors, then add the cost of panels and lining. If the window is unusually wide, the wall is plaster, or the curtains are exceptionally heavy, professional installation can prevent expensive repairs. Good measurements and suitable hardware usually matter more than a luxury label. When installing curtain rods, treat the rod as part of the textile design, not an afterthought, and the finished window will hang better, last longer, and work harder through every season.


No letters yet — be the first to write.