The first time I learned how to install curtain hardware properly, I was working with a heavy wool-blend drape in a drafty Minneapolis bedroom. The rod looked level, but the fabric pulled inward at the corners and left a cold strip of glass exposed. Hardware is not merely the part that holds a curtain. Its position controls how much window you cover, how smoothly the fabric moves, and whether an insulating lining can do its job.
A good installation starts with the window, the wall, and the textile you plan to hang. A lightweight cotton panel needs different support from a lined velvet drape or a blackout curtain with a thick interlining. Before drilling, touch the fabric and estimate its weight. Then study the wall surface, locate studs when possible, and measure twice.
Choose the Right Rod, Brackets, and Fasteners
When deciding how to install curtain hardware, begin with the finished curtain weight rather than the rod’s decorative shape. A narrow metal rod may look elegant, but a pair of lined panels can bend it in the middle. For most standard windows, a steel or substantial aluminum rod with a center support is more dependable than a thin hollow tube. Wood rods are attractive and strong, although wide spans still need a middle bracket.
Measure the rod diameter against the curtain’s pocket, rings, or grommets. A pocket that barely fits over the rod will drag, especially after washing. Rings or carriers usually slide more freely and allow a fuller fabric stack to open away from the glass. For a 60-inch window, extending the rod 8 to 12 inches past each side often gives the panels somewhere to rest without blocking the view.
Use the fastener that matches the wall. Wood screws belong in a stud or solid wood trim. Drywall requires a suitable anchor rated for the load, such as a toggle-style anchor or a properly installed self-drilling anchor. Plaster walls need care because the surface can chip around the hole. If the curtain is unusually heavy, do not rely on a small plastic plug simply because it came in the package.
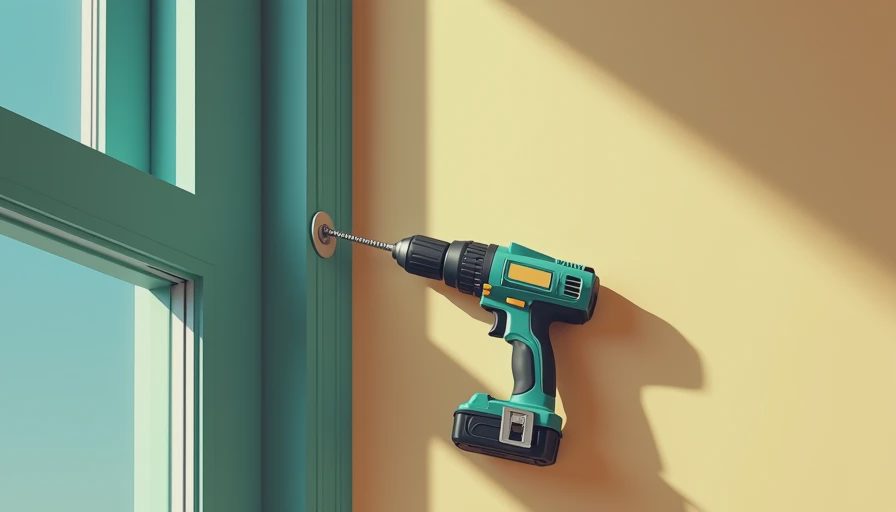
Measure Height and Width Before Drilling
The most useful answer to how to install curtain hardware is to treat the rod location as a design measurement, not an afterthought. Mounting the rod 4 to 6 inches above the window frame usually makes the window appear taller. In rooms with high ceilings, placing it several inches below the ceiling can create a long vertical line, provided the curtain length is made to suit it.
Width matters just as much. The rod should usually extend beyond the frame so open curtains do not cover the glass. Measure from the intended left bracket to the intended right bracket, then confirm that your panels provide enough fullness. A pair of ready-made panels totaling 1.5 to 2 times the rod width gives a reasonably soft look. Sheer fabric may need more fullness because its thin yarns do not create the same visual body as a dense linen or wool blend.
Mark both bracket positions with a pencil and use a level across the marks. Do not measure from the ceiling unless the ceiling itself is level. Older homes, including many Minneapolis Craftsman houses, can have trim and floors that are slightly out of square. The level gives you a straight visual line even when the architecture is imperfect.
Install the Supports Without Damaging the Wall
For how to install curtain hardware on drywall, first hold each bracket in place and mark the screw holes. Drill a pilot hole where appropriate, then install the anchor according to its instructions. The anchor should sit flush, not buried deep inside the wall. If one bracket lands over a stud and the other does not, use the stud screw on one side and a correctly rated anchor on the other.
For wood trim, use screws long enough to enter solid material without emerging on the other side. A screw that only grips thin decorative trim can loosen after repeated opening and closing. With plaster, put painter’s tape over the mark before drilling; the tape helps reduce surface chipping. Keep the drill straight and avoid forcing the bit, since pressure can fracture old plaster.
Once the brackets are attached, test them with your hands before adding the rod. A bracket that shifts now will become a larger problem under a full curtain. Place the rod on the supports, add the finials, and check level again. Then open and close the panels several times while watching for snagging, flexing, or contact with the wall.
Match Placement to the Fabric’s Behavior
Fabric construction changes how a window treatment performs. A tightly woven cotton canvas has body and tends to hold a clean fold. A loosely woven linen often looks relaxed but can stretch slightly in humid weather. Velvet has a directional pile, meaning its surface fibers reflect light differently when brushed upward or downward. Install paired panels so the pile runs consistently; otherwise, one side can look darker.
How to install curtain hardware also depends on whether the textile needs room to breathe. Do not press a thick thermal-lined drape tightly against a radiator, heater, or heat register. Heat can damage some synthetic fibers and reduce efficient air circulation. In a cold room, mounting the rod wider and allowing the curtains to overlap the wall beside the window can reduce side drafts, while a ceiling-mounted track can provide more complete coverage.
For blackout panels, inspect the edges in daylight after installation. Light often enters through the top and sides rather than through the fabric itself. A wraparound rod, return brackets, or wider side placement can improve darkness without buying a more expensive textile. This is where spending on sturdy supports often delivers more benefit than spending another $20 on a decorative finial.
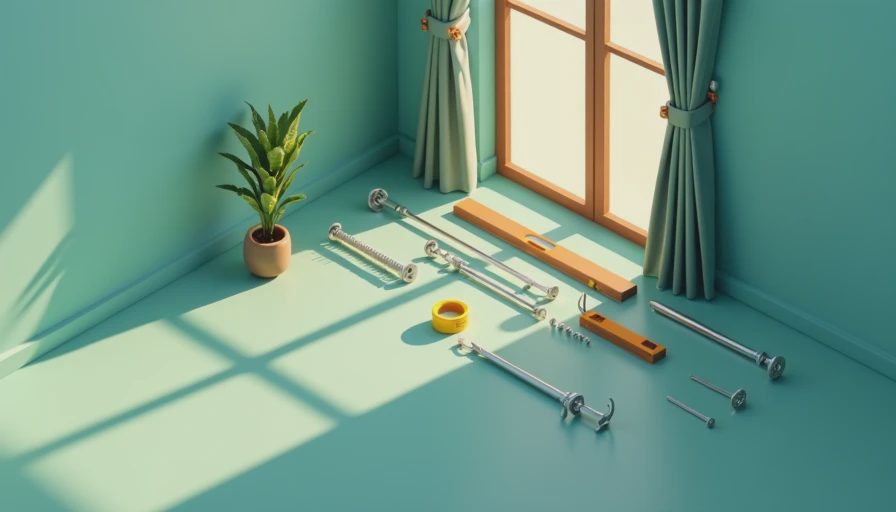
Check the Finished Installation for Performance
After you install the panels, leave them closed for an hour and feel the wall and glass separately. The glass will naturally feel colder, but a draft along the top or sides suggests an uncovered gap. Look at the hem as well. A panel that pools heavily may pull on the rod, while a panel that stops above the sill can leave a visible strip of cold glass.
For floor-length curtains, a hem that barely kisses the floor is practical and easy to vacuum around. A small break, where the fabric rests with a slight fold, creates a softer appearance but collects more dust. In a bedroom or living room with hard floors, that difference affects daily maintenance. The best length is the one that suits both the fabric and the way you use the room.
Open the curtains fully to confirm that the stack does not cover too much glass. Then close them and inspect the overlap at the center. If the panels meet but do not overlap, morning light can form a bright seam. Overlap is especially useful with insulated or blackout curtains, where the goal is controlled light and reduced drafts rather than decoration alone.
A Simple Installation Sequence
The safest sequence for how to install curtain hardware is straightforward. Confirm the rod length and support capacity first. Measure the finished height and width, mark both bracket locations, and use a level before drilling. Install fasteners suited to the wall, then tug each bracket gently. Add the rod without curtains and check for sag. Finally, hang the panels, distribute the folds, and test the movement from fully open to fully closed.
If the span is wider than about 6 feet, plan for a center support unless the manufacturer specifies otherwise. If the curtains are lined, pinch-pleated, or made from a dense fabric, treat them as heavy even when the rod feels substantial in your hand. A sagging rod changes the fall of the fabric and puts extra stress on the outer brackets.
The result should feel quiet and deliberate: the rod stays level, the panels glide without catching, and the textile covers the window where it needs to. Learning how to install curtain hardware this way protects the wall, improves the curtain’s drape, and makes every yard of fabric work harder through bright summer afternoons and cold winter nights.


No letters yet — be the first to write.