The first step in learning how to install curtains is understanding that the window is only half the job. The fabric, rod, mounting position, and hem length work together. A thin cotton panel hung inside the frame will behave very differently from a lined wool-blend drape mounted several inches above it. I have installed treatments in drafty Minneapolis houses where the right placement made a room feel calmer, darker, and less exposed without replacing the windows.
Choose the Curtain Style and Hardware First
Hold a linen panel in your hand and notice how easily light passes through its loose weave. Now compare it with tightly woven cotton sateen or a lined polyester blackout fabric. That difference determines whether your treatment is mainly decorative, light-filtering, insulating, or all three. Before measuring, decide what you need the curtains to do.
For privacy and soft daylight, unlined linen, cotton voile, or a cotton-linen blend can work well. For bedrooms, media rooms, and cold north-facing windows, look at lined curtains. A separate lining adds weight and slows heat movement through the window. Blackout lining blocks much more light, while thermal lining usually focuses on insulation and drape rather than complete darkness.
Your hardware must support the finished weight. A lightweight aluminum rod may handle two sheer panels, but a broad, lined pair often needs a steel rod with a center bracket. Rods from brands such as Umbra, Kirsch, and IKEA cover different budget levels, but the important details are diameter, bracket depth, and stated weight capacity. Decorative finials are secondary. A sagging rod ruins even expensive fabric.
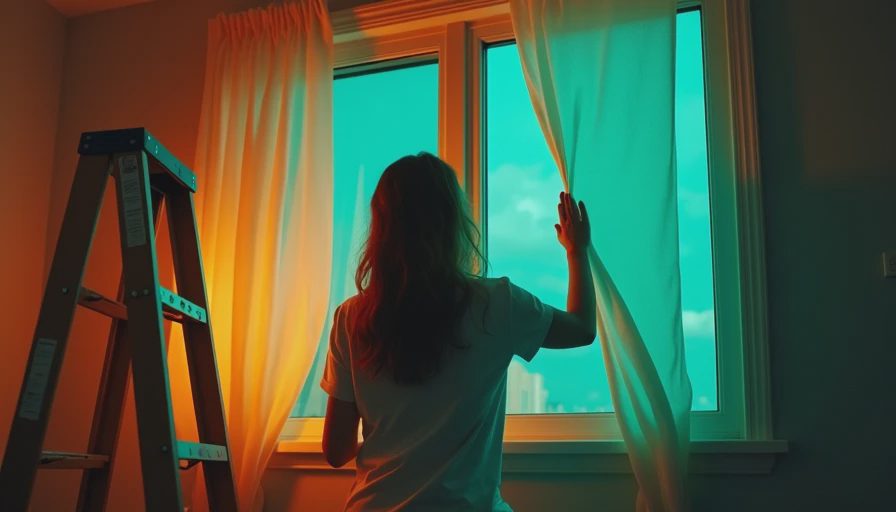
Measure the Window and Decide Where the Rod Goes
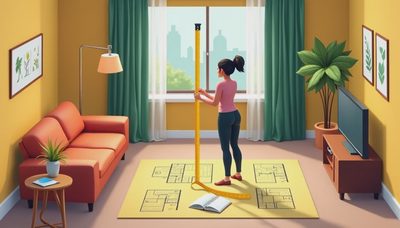
Good measurements are the foundation of how to install curtains. Use a steel tape measure, not a flexible sewing tape, and record width at the top, middle, and bottom of the window. Older homes often have openings that are slightly out of square. Use the widest measurement for coverage, then add fullness for the curtain panels.
For a tailored appearance, plan for the rod to extend about 6 to 12 inches beyond each side of the frame when wall space allows. This lets the panels stack beside the glass instead of covering it when open. Mounting the rod 4 to 8 inches above the frame can also make the window appear taller. In rooms with high ceilings, the top of the window treatment can sit closer to the ceiling, provided the fabric still clears trim and crown molding.
For width, multiply the rod length by about 1.5 to 2 for standard fullness. A 60-inch rod therefore needs approximately 90 to 120 inches of total curtain width. Sheer fabric usually benefits from more fullness, while heavy velvet or dense wool can look crowded if gathered too tightly. Measure finished length from the top of the rod or rings to the floor, sill, or desired stopping point. Decide that measurement before buying panels.
Install the Brackets Without Guessing
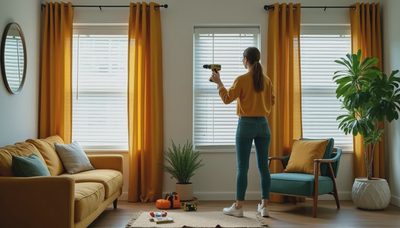
How to install curtains securely depends less on the screwdriver and more on finding solid support. Drywall anchors are useful when no stud is available, but a long, heavy treatment places more leverage on the wall than a small picture frame. If possible, fasten at least one bracket into a stud or wood framing. In older plaster walls, drill carefully and use hardware rated for the wall construction.
Mark the bracket locations with a pencil and check that they are level. A small bubble level is inexpensive insurance against a rod that slopes visibly toward one corner. Drill pilot holes before driving screws, especially near wood trim. If the rod is wider than about 60 inches or carries lined panels, install a center support. Place that support so the curtains can still move across the opening.
Before hanging the fabric, test the rod with your hands. It should feel firm, with no twisting or downward movement. If it shifts, stop and correct the anchor rather than hoping the fabric will hide the problem. A pair of lined panels can weigh substantially more than their packaging suggests once they are fully gathered.
Hang the Panels and Train the Folds
Once you understand how to install curtains, the hanging process is straightforward, but fabric handling still matters. Inspect the top edge first. Grommet panels slide directly onto the rod, while rod-pocket panels create a softer, less mobile look. Pinch pleats usually hang from hooks on rings or a track. Keep the left and right panels oriented consistently so the face side and lining fall the same way.
After hanging, pull the curtains fully closed and adjust the overlap at the center. The panels should meet without leaving a bright vertical gap. If the fabric looks stiff or uneven, gently arrange the folds by hand. Do not yank the hems; tugging can distort the weave, particularly in loosely constructed linen.
For a professional finish, train the folds for several days. Close the panels and loosely tie each group with fabric strips or soft ribbon, following the natural pleat lines. Remove the ties after the fabric has settled. A steamer can relax shipping creases, but keep the nozzle moving and avoid pressing directly against coated blackout lining. High heat can damage acrylic or foam-backed finishes.
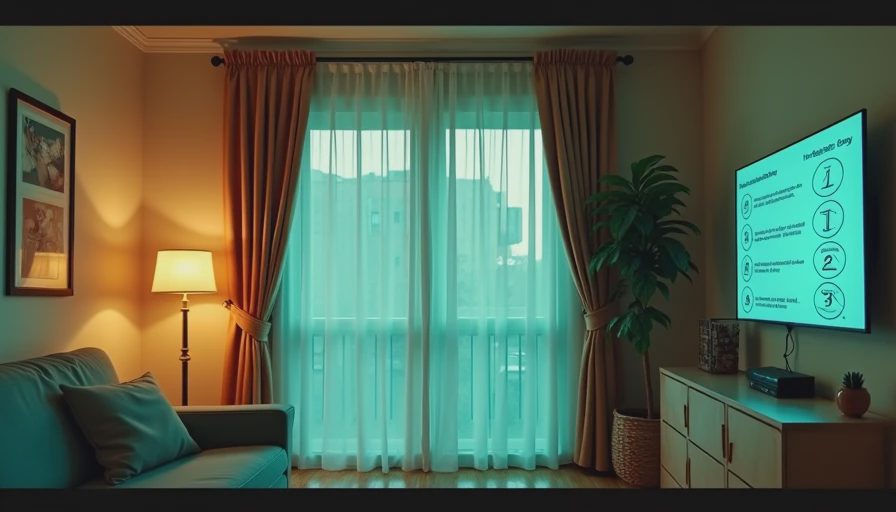
Make the Fabric Work for Your Climate
In a cold climate, how to install curtains should include the space around the window, not just the visible front. A curtain that reaches the floor and extends beyond the frame covers more leakage paths than a short panel that stops at the sill. Leave enough clearance above radiators and heaters for safe airflow. Do not allow fabric to drape directly over a steam radiator or block a forced-air vent.
The weave affects performance. A tightly woven cotton duck feels firm and resists light, while brushed polyester has a softer hand and often hangs with fewer wrinkles. Wool-blend drapery is naturally substantial and can provide an excellent cold-weather presence, but it costs more and needs careful cleaning. A $12-per-yard fabric may be perfectly suitable for a guest room, while a $60-per-yard lined textile makes more sense for a large living-room opening you use every day.
Layering can outperform a single expensive panel. Pairing a sheer inner curtain with a lined outer drape gives daylight control in the morning and a heavier barrier at night. The air space between layers adds another modest buffer against a cold pane. In summer, closing light-colored curtains during strong afternoon sun can reduce glare and help furnishings resist fading.
Common Installation Mistakes to Avoid
A frequent mistake is buying panels that are exactly as wide as the window. They will cover the glass, but they will not have enough fullness to form attractive folds. Another is measuring from the floor before deciding whether the rod uses rings, clips, or a hidden pocket. Each heading changes the finished drop by an inch or more.
People also mount rods too close to the frame. That leaves little room for stacked fabric and can make the opening feel squat. On the other hand, extending a rod far beyond a narrow window wastes wall space and may interfere with nearby doors or cabinets. Check the swing of doors, the location of outlets, and the path of furniture before drilling.
If the curtains are too long, avoid cutting immediately. Let them hang for several days, then measure again after steaming. A small break at the floor can look relaxed, while a clean one-half-inch clearance looks tailored and keeps the hem away from dust. For a rental, tension rods and removable brackets can work with lightweight panels, but they are not a reliable choice for heavy lined drapery.
A Practical Final Check
The final stage of how to install curtains is an inspection in daylight and after dark. Open and close each panel to make sure rings glide, the center overlap stays closed, and the fabric does not catch on the bracket. Stand across the room and check whether the hems appear level. Then stand beside the window and look for gaps at the sides, top, and center.
Touch the fabric after a sunny afternoon. If one panel feels noticeably warmer, your curtains may be unevenly closed or the lining may not be sitting correctly. Check that the rod remains straight and that brackets have not pulled away from the wall. These small corrections are easier now than after weeks of use.
When the measurements are accurate, the hardware is properly supported, and the fabric suits the room, the result is more than decoration. It is a working layer between your interior and the weather. That is the real payoff of learning how to install curtains: a window treatment that looks intentional, operates smoothly, and earns its place in the room every day.

No letters yet — be the first to write.