When homeowners ask me how to install curtain rods, they usually expect a quick hardware tutorial. The drill matters, but the measurements matter more. A rod mounted too low, too narrow, or too close to the glass can make even an expensive wool-blend drape look cramped. In my Minneapolis bungalow, I learned that a well-placed rod also helps a lined curtain cover more wall area, reducing cold air movement around an old window.
The job takes about 30 to 60 minutes for a standard window. You will need a steel tape measure, pencil, level, drill, screwdriver, stud finder, and the correct wall anchors. Add a ladder for tall windows. Before buying anything, inspect the window trim, note nearby radiators or baseboard heaters, and decide whether the panels should hang to the sill, apron, or floor.
Choose the Rod Position Before Drilling
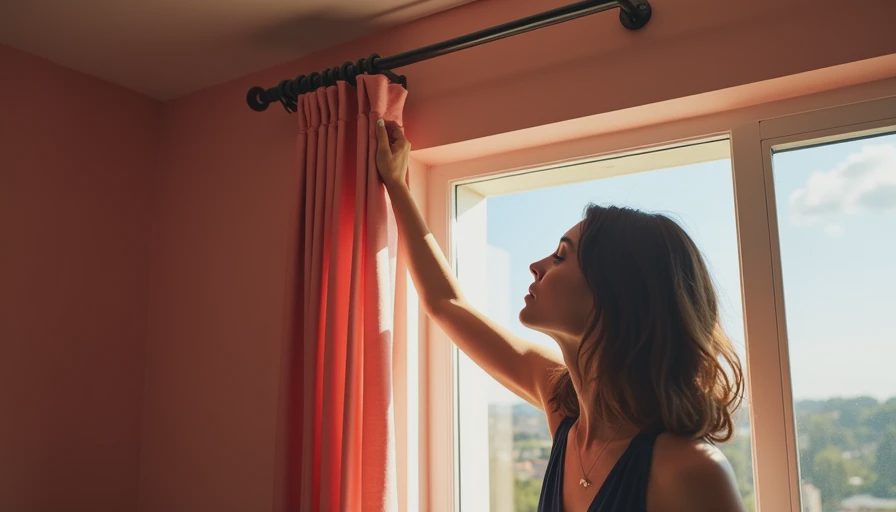
The most useful answer to how to install curtain rods begins with placement. For a typical window, position the rod about four to six inches above the top trim and extend it three to eight inches beyond each side. This lets the fabric stack beside the glass instead of blocking daylight when the curtains are open. If the ceiling is low, place the rod closer to the ceiling than the trim, but leave enough room for the bracket and finial.
A rod that is too short forces the curtain into the window opening. A rod that is too low creates a heavy horizontal line and can make the room feel shorter. On an eight-foot wall, moving a rod from two inches above the trim to six inches above it can noticeably lengthen the window visually without changing the window itself.
The fabric affects this decision. A crisp cotton panel needs less stacking room than a full velvet or tightly woven chenille panel. Fuller cloth has more body and needs more space at the sides. If you plan to use blackout curtains, remember that the coated backing can be stiff; allow extra clearance so the panels do not bunch against the glass.
Measure for Width, Height, and Fullness
Measure the finished width of the rod, not merely the glass. Include the space from the left bracket to the right bracket, excluding decorative finials unless the curtain hardware requires them. For two panels, a common starting point is fabric measuring 1.5 to 2 times the rod width. A 72-inch rod therefore needs roughly 108 to 144 inches of total fabric width for a natural, useful fullness.
Curtain length requires equal care. Measure from the top of the rod or rings to the place where the fabric should end. For a slight floor break, add about one-half inch. For a cleaner look, stop the hem one-half inch above the floor. In a room with a radiator, keep the curtain safely above the heat source or use a short panel; fabric hanging over a radiator can trap heat and interfere with circulation.
If your windows are in a drafty exterior wall, wider curtains can help more than a narrow decorative panel. They cover the trim and part of the surrounding wall, reducing gaps at the edges. A thermal lining adds another layer between the room and cold glass, but it works best when the curtain closes fully and reaches close to the floor or sill.
Find Studs and Select the Right Anchors
Run a stud finder across the wall where each bracket will go, then confirm the result with a small pilot hole. A wood stud gives the strongest attachment, especially for heavy lined drapes. Drive the screw directly into the stud with a drill bit slightly smaller than the screw shaft. Do not rely on a drywall anchor when a stud is available.
When there is no stud, choose an anchor based on the curtain weight. A light polyester sheer may work with a rated plastic expansion anchor, while a lined cotton or wool drape needs a stronger toggle or self-drilling anchor rated above the combined weight of the rod and fabric. Read the package rating and remember that two anchors do not always safely double the stated capacity.
How to install curtain rods securely also depends on the bracket design. Telescoping rods can flex at the center, so use a center support when the span is long or the fabric is dense. A solid metal rod generally resists sag better than a thin hollow rod. Before final tightening, place the level across the brackets and check that both supports sit at the same height.
Install the Brackets Without Guesswork
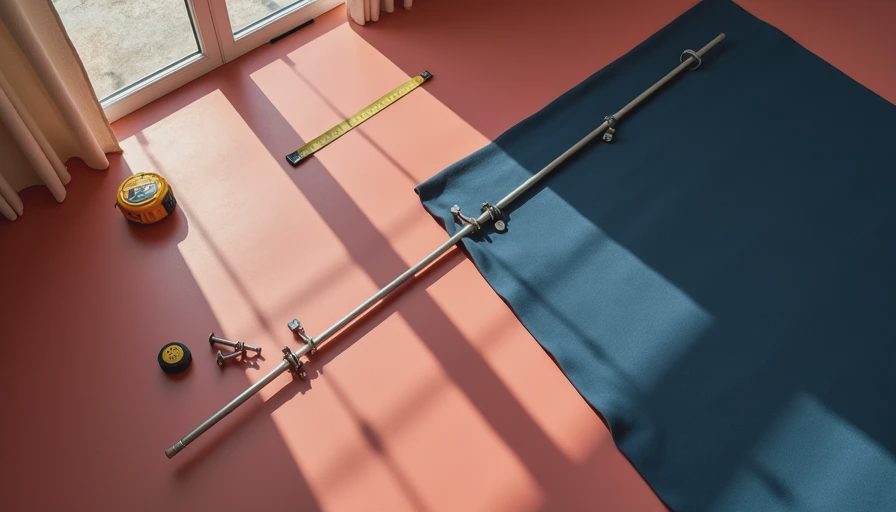
Hold the first bracket at your pencil marks and use its mounting holes as a template. Drill pilot holes, insert the anchors if needed, and tighten the screws until the bracket is firm. Avoid overtightening into drywall, which can crush the surface and weaken the anchor. Repeat on the other side, then check the level again. A small slope is surprisingly visible once the curtains are hanging.
If you are learning how to install curtain rods on plaster, proceed more gently. Plaster can chip when a drill bit enters too quickly, and older lath walls may have unexpected voids. Place painter's tape over the mark, drill at low speed, and use an anchor designed for the wall construction. For tile, brick, or concrete, use the appropriate masonry bit rather than forcing a standard twist bit through the surface.
Slide the rod through the rings or pockets before lifting it into place. This is easier than trying to thread a long panel while standing on a ladder. Attach finials, set the rod into the brackets, and make sure the curtain moves without catching on a screw head or sharp edge.
Check the Fabric’s Fall and Window Performance
Now stand several feet back and inspect the hem, side clearance, and folds. A woven fabric with a firm, dense hand will usually form deeper, more stable folds. A lightweight linen blend may relax and show irregular ripples, particularly in humid weather. Neither behavior is automatically better; the important question is whether the result suits the window and the amount of light you need.
Close the panels and look for gaps. If light appears at the sides, return the rod farther beyond the trim or add a wraparound return bracket. If cold air is noticeable at the bottom, a longer lined panel can reduce drafts, but do not let it touch a radiator. For bedrooms, a blackout lining improves darkness; for living rooms, a cotton or polyester lining often gives a softer daytime appearance while still moderating glare.
How to install curtain rods well is ultimately about coordinating hardware with textile behavior. A delicate sheer on a heavy industrial rod may look unbalanced, while a thick drape on a narrow spring rod can sag and drag. Match the rod diameter, support spacing, and bracket strength to the fabric you will actually use.
A Simple Final Inspection
Test each panel by opening and closing it several times. Listen for scraping, watch for bracket movement, and confirm that the rod does not bow in the center. Tug gently at the outer edge; ordinary operation should not pull the anchors loose. If the fabric catches, smooth the inside of the pocket or use rings with clips instead.
How to install curtain rods is not difficult, but rushing the first measurement creates problems that no fabric can hide. Mark the placement, calculate fullness, anchor the supports correctly, and leave enough clearance for the window’s heat and light conditions. A $35 rod can look polished when it is installed thoughtfully, while a $200 rod can look awkward when it is too low or too short. The window should be dressed for its actual climate, construction, and daily use—not just for the product photograph.


No letters yet — be the first to write.