When you learn how to install curtain brackets, you are doing more than putting hardware on a wall. Bracket position determines whether your curtain stack clears the glass, whether a lined drape seals against winter drafts, and whether the fabric hangs in a clean, generous fold or looks cramped. I have seen expensive wool blends made ineffective by brackets placed too close to a window frame. A few careful measurements usually matter more than buying the fanciest rod.
Choose the right bracket position
Start by touching the wall around the window. Drywall feels hollow, while a stud gives a firm, almost dull resistance under a light tap. That distinction matters because a curtain, rod, and decorative finials can weigh considerably more than they appear. A lightweight cotton panel may put only modest force on the hardware, but a pair of lined velvet or wool curtains can create a substantial pull when opened and closed.
For most windows, mount the brackets about four to six inches above the trim and six to twelve inches beyond each side of the frame. The wider extension lets the fabric stack beside the glass instead of covering it. In a cold climate, this also gives the curtain a better chance of overlapping the wall around the opening, reducing the path for cold air. If your ceiling is low or the window trim is unusually tall, adjust the height while keeping the rod visually level.
Before you learn how to install curtain brackets, check the rod diameter and the bracket’s clearance. A thick wood or metal rod may need deeper supports than a slim tension-style pole. Slide a bracket onto the rod and hold both against the wall. This simple test reveals whether the curtain rings will rub against the wall or whether the rod will sit too close for full movement.
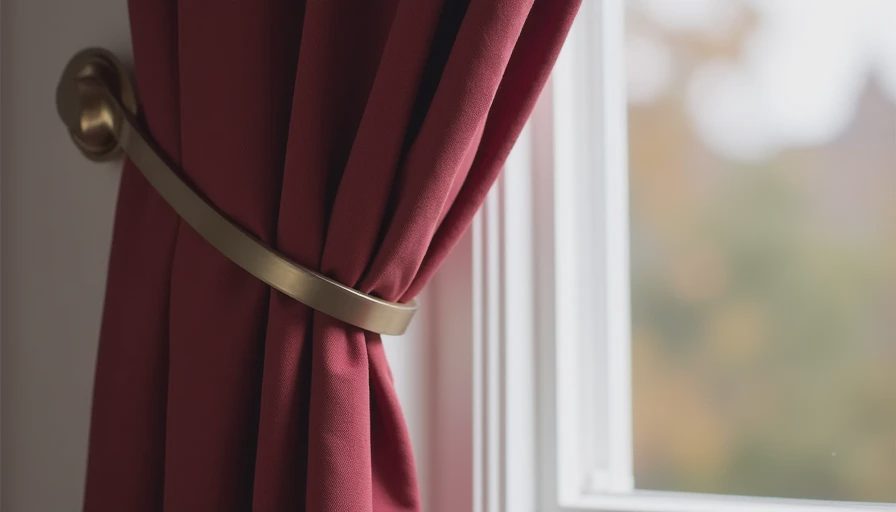
Find studs, anchors, and solid support
The feel of the fastener is your guide here. A screw that bites firmly into a wood stud is fundamentally different from one turning loosely in a hollow cavity. Use a stud finder, then confirm the location with a small pilot hole in an inconspicuous area. If the stud does not line up with your preferred bracket position, use a wall anchor rated for the combined weight of the rod and treatments.
Plastic expansion anchors work for light sheers and small café curtains, but they are not my first choice for heavy, lined panels. Toggle bolts or metal hollow-wall anchors provide stronger support in many drywall installations. Read the package weight rating and remember that ratings are not a promise for every wall condition. Old plaster, crumbly drywall, and masonry each need a different fastener.
When you install curtain brackets on brick or concrete, use a masonry bit and screws designed for that surface. Do not force a standard wood screw into masonry; it can strip the hole and leave the bracket unstable. For a long rod wider than about six feet, add a center support, but position it so the curtain rings can still pass or so the center seam can remain stationary on a traverse system.
Measure for a level rod
Place the rod temporarily in the brackets and step back several feet. A level is useful, but the eye also catches a tilt when the window trim is not perfectly square. Measure from the floor to each bracket and compare those numbers before drilling. A difference of even half an inch can become obvious when the curtain hem hangs near hardwood flooring.
The phrase how to install curtain brackets often brings to mind drilling first and measuring later. Reverse that order. Measure the finished curtain length, the rod pocket or ring position, and the distance from the floor before marking anything. Curtains that barely kiss the floor need more precision than casual panels that stop at the sill. For insulated drapes, I usually prefer a near-floor hem with a small gap rather than fabric dragging through dust and radiator heat.
Hold both brackets in place and mark every screw hole with a pencil. Use painter’s tape if the wall has delicate paint. Drill pilot holes slightly narrower than the screw shaft when fastening into wood. A pilot hole prevents the screw from splitting trim or wandering away from the mark, especially when the bracket plate is narrow.
Match hardware to fabric weight
Touch the fabric before deciding how much support it needs. A sheer polyester voile feels light and collapses easily in your hand. A cotton-linen blend feels denser, while velvet has a thick pile and can carry much more weight than its surface suggests. Interlining, blackout backing, and a full lining add additional load and change how freely the curtain moves.
This is why how to install curtain brackets should include a fabric assessment, not just a hardware diagram. A decorative rod rated for light panels may bend under lined drapes. For medium or heavy treatments, choose brackets with a broad mounting plate and a projection deep enough to keep the fabric away from the wall. A projection of four to six inches is often more comfortable than a shallow support, particularly when the curtain has deep pleats.
Budget sensibly. You can spend $20 to $40 on a basic rod and bracket set for a small bedroom window, while a custom iron rod and substantial supports may cost well over $100. Put money into sturdy brackets and a straight rod before paying extra for elaborate finials. The fabric’s weave, lining, and finished fullness will contribute more to insulation and appearance than an ornamental end cap.
Install the brackets without damaging the wall
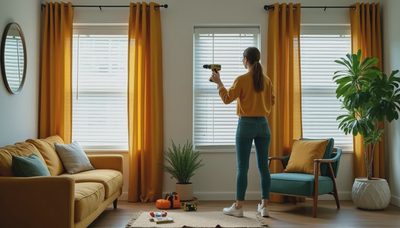
Once the marks are confirmed, drill the pilot holes or anchor openings. Keep the drill perpendicular to the wall so the screws pull the bracket plate flat. Drive each screw until the plate is secure, but stop when it is snug. Over-tightening can crush drywall, strip the screw head, or twist a thin metal bracket out of alignment.
After learning how to install curtain brackets, many people skip the load test. Do not. Put the empty rod in place first, then pull gently downward at the center and each end. If anything shifts, strengthen the attachment before hanging fabric. Add a center support if the rod flexes, and make sure its underside does not catch curtain rings during normal movement.
Slide on the rings or panels, install the finials, and open the curtains fully. Look at the stack on each side. If one side is noticeably thicker, the rod may not be centered or the panels may have different finished widths. That imbalance affects both the view and the curtain’s ability to cover the coldest edge of the window.
Finish with a performance check
The final step in how to install curtain brackets is watching the window work through a full day. In morning light, check whether the fabric blocks the glass as intended. At night, use a lamp indoors and stand outside if practical to look for gaps around the sides. In winter, place your hand near the window edge rather than directly on the glass. A well-positioned curtain should reduce the sensation of moving cold air, although it cannot replace weatherstripping or a properly sealed window.
For maximum benefit, let the curtain overlap the wall several inches on both sides and close it fully after sunset. Keep fabric clear of steam radiators, baseboard heaters, and open flames. Natural fibers such as wool and cotton respond to humidity, so allow enough clearance that the hem does not sit against a damp sill. Synthetic fibers can be durable, but they still need sensible heat clearance.
If you want a quick summary of how to install curtain brackets, measure the fabric first, locate solid support, extend the rod beyond the frame, use anchors appropriate to the wall, and test the loaded hardware before calling the job finished. A straight, well-supported rod lets the curtain’s weave and lining do their real work: controlling glare, softening sound, and slowing uncomfortable heat loss without sacrificing the relaxed fall of the cloth.


No letters yet — be the first to write.