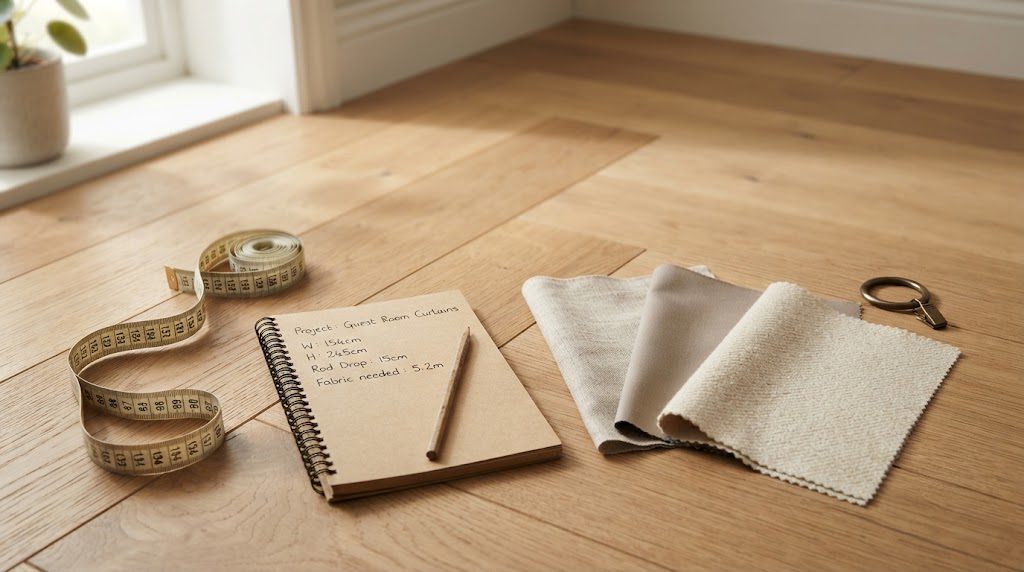
You've read about fibers and weaves. You understand why one fabric costs twelve dollars a yard and another costs ten times that. Now you're standing in front of your own bare window, ready to make a purchase that will change how your room looks and feels for years. This is the moment where research meets reality.
This guide assumes you're starting from scratch—no existing hardware, no old curtains to replace, just a window that needs dressing. I'll walk you through the process in the order that prevents expensive mistakes.
Step 1: Measure Like the Curtain Depends on It
Width First, Then Height
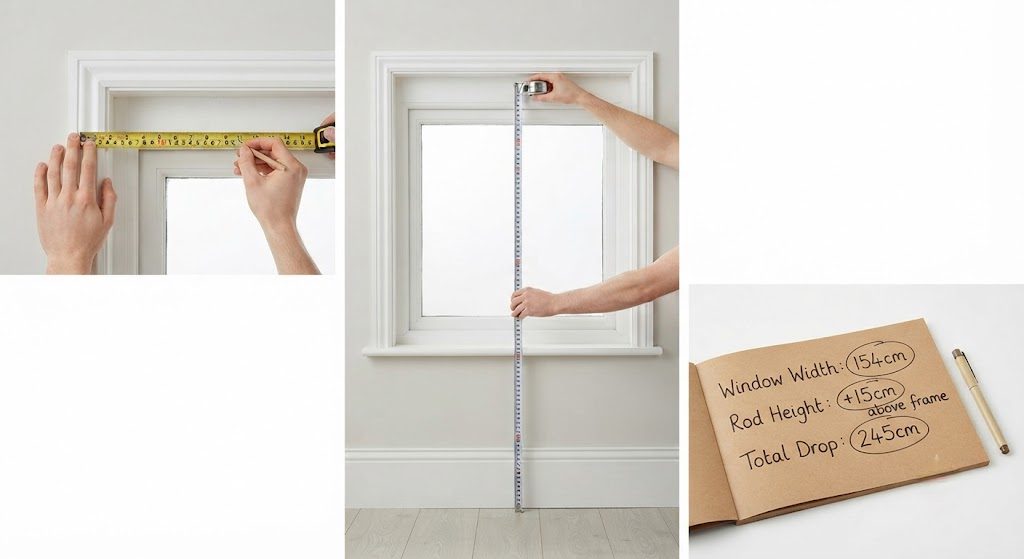
Measure the width of your window frame from edge to edge—not the glass, but the entire frame including casing. Write that number down. Now double it. That's the minimum total width your curtain panels should add up to for proper fullness when closed. A curtain that's exactly the width of the window will pull flat and look stingy. For a gathered rod pocket or grommet header, aim for two to two-and-a-half times fullness. For ripple-fold or pleated headers, one-and-a-half to two times the width is usually sufficient.
Now measure height. Decide where the rod will sit—typically four to six inches above the window frame, or closer to the ceiling for dramatic height in a room with standard eight-foot ceilings. Measure from that rod position down to your desired hem point. For floor-length curtains, stop half an inch above the floor for a clean, floating look, or add two to three inches for a soft puddle if that's your preference and the room has low foot traffic. Write both numbers on a card and keep it in your wallet. You'll need them.
Step 2: Define the Window's Job Description
Before you choose a single fabric, answer the five questions from the earlier article. What light control does this window need? How much insulation is worth paying for? Who can see in, and when? Will moisture be a factor? Can you live with the maintenance? Your answers dictate everything that follows.
A north-facing bedroom that needs total darkness and insulation points you toward a layered system with dense-weave blackout and thermal interlining. A south-facing living room that just needs glare control and soft privacy points toward a sheer-and-drape combination in UV-stable fibers. The window tells you what it needs. Your job is to listen.
Step 3: Choose Your System Before Your Fabric
Decide on your layering approach first, because it determines how many rods you'll mount and how much depth you need from your brackets. A single decorative panel requires one rod. A sheer-plus-drape system requires two. A full workhorse-plus-sheer-plus-drape system needs three.
Once you know the layer count, choose your header style for each layer. If you'll open and close these curtains daily, clip rings or a smooth traverse rod will save your patience. If they'll stay in one position permanently, rod pocket or grommet will do. Match the hardware to the habit.
Step 4: Select Fabric with Your Brain, Not Just Your Eyes
Take your fiber knowledge into the store or the swatch-ordering process. For the functional layer closest to the glass, prioritize performance: density, light-fastness, moisture tolerance. For the middle sheer layer, prioritize how the fabric looks with light passing through it. For the decorative outer layer, you can finally prioritize color and texture—because the other layers are handling the hard jobs.
Order swatches before you commit to panels. Test them using the crinkle, light, and drape methods. Tape them to the wall beside the window and live with them for a few days. The color that looked perfect on a screen or under store lighting will reveal its true nature in your room's actual light.
Step 5: Install with the Weight in Mind
Quality curtains are heavier than you expect. Mount your rod brackets into studs or use heavy-duty wall anchors rated for at least twice the total weight of your curtains. A rod that sags or pulls out of the wall ruins the look of even the most beautiful fabric. Use a level. Mark your bracket positions with a pencil before drilling. And if you're mounting multiple rods, install them from the innermost layer outward, ensuring each rod clears the one behind it.


No letters yet — be the first to write.